We all love the quirky little things, so I wrote this little tutorial so that everyone able and willing also can make them.
Step 1:
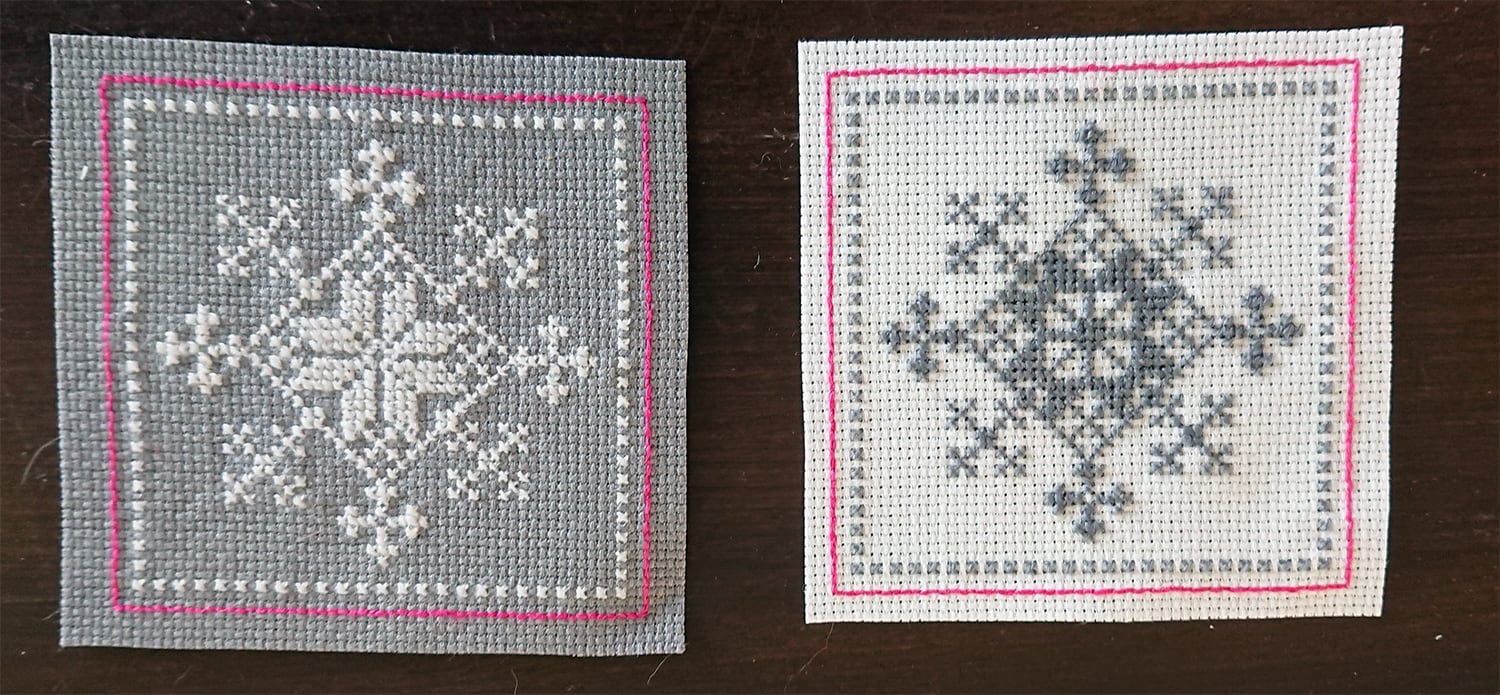
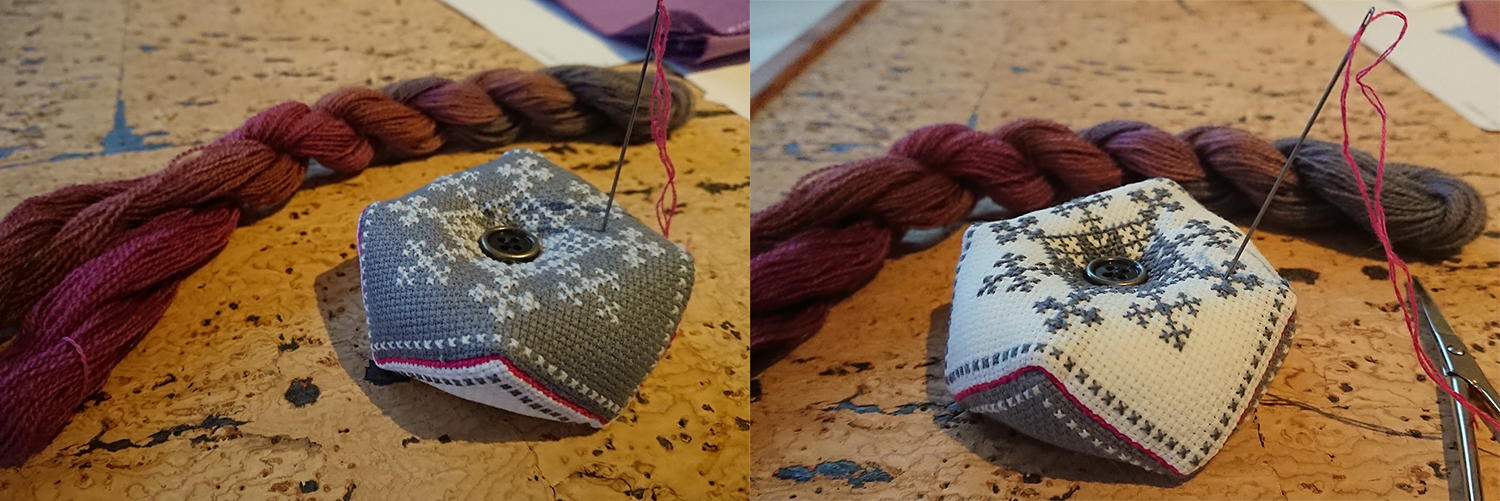
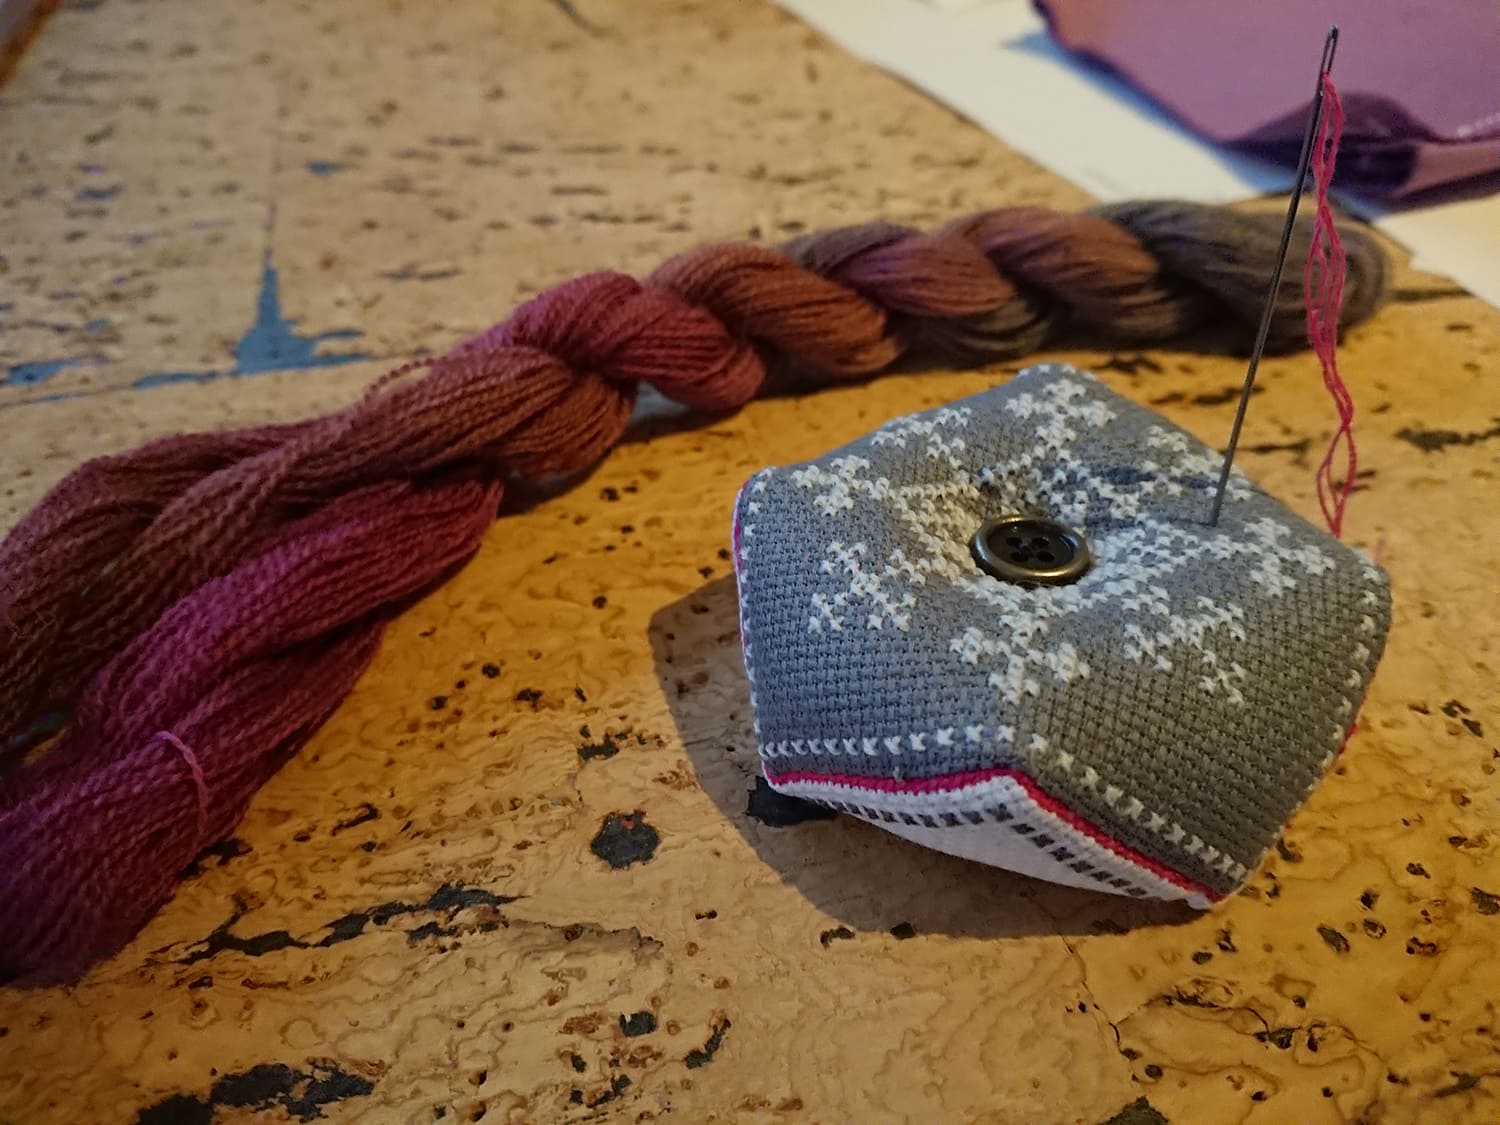
create two square patches of identical size. The pattern can differ depending on what you want. That’s entirely up to you. In this example I made a classical snowflake from a Norwegian headscarf.
The running stitch around the square is in hot pink to make it easier to visualize. And you need the running stitch as it’s where you’ll be sewing.
Step 2:
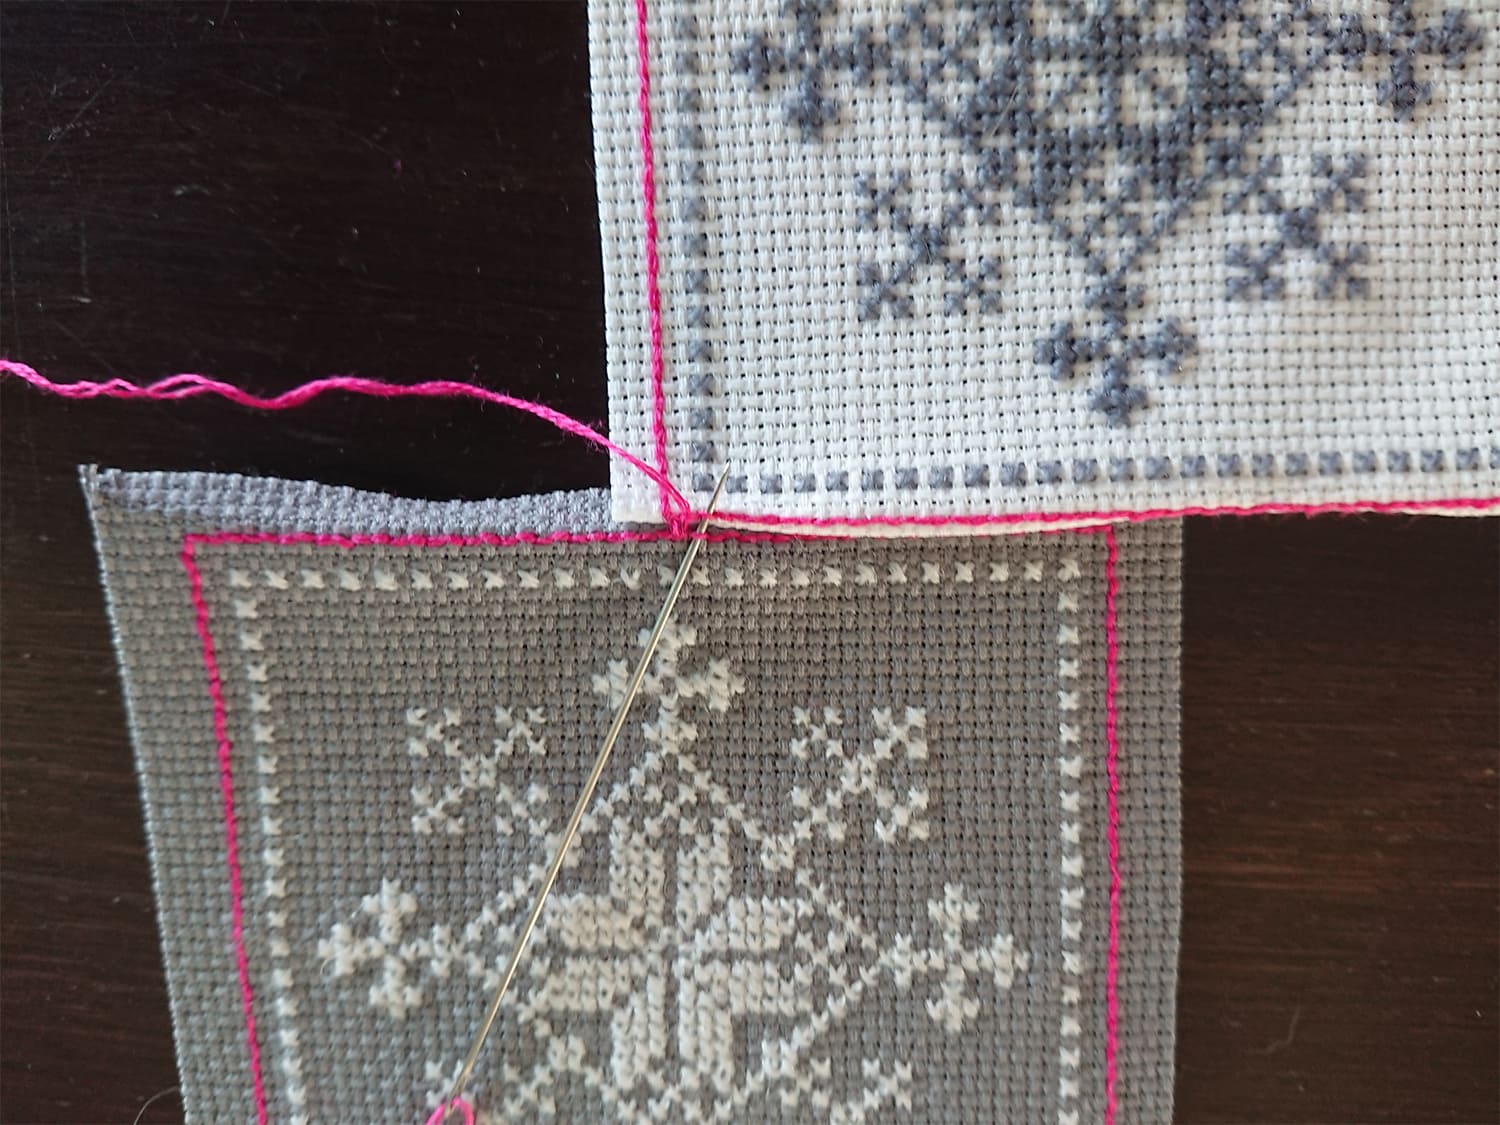
Find the middle of Side A and start stitching it to the beginning of the Side B by the pink running stitch. Corners are the hardest, but keep the thread tight and you should be fine!
Step 3:
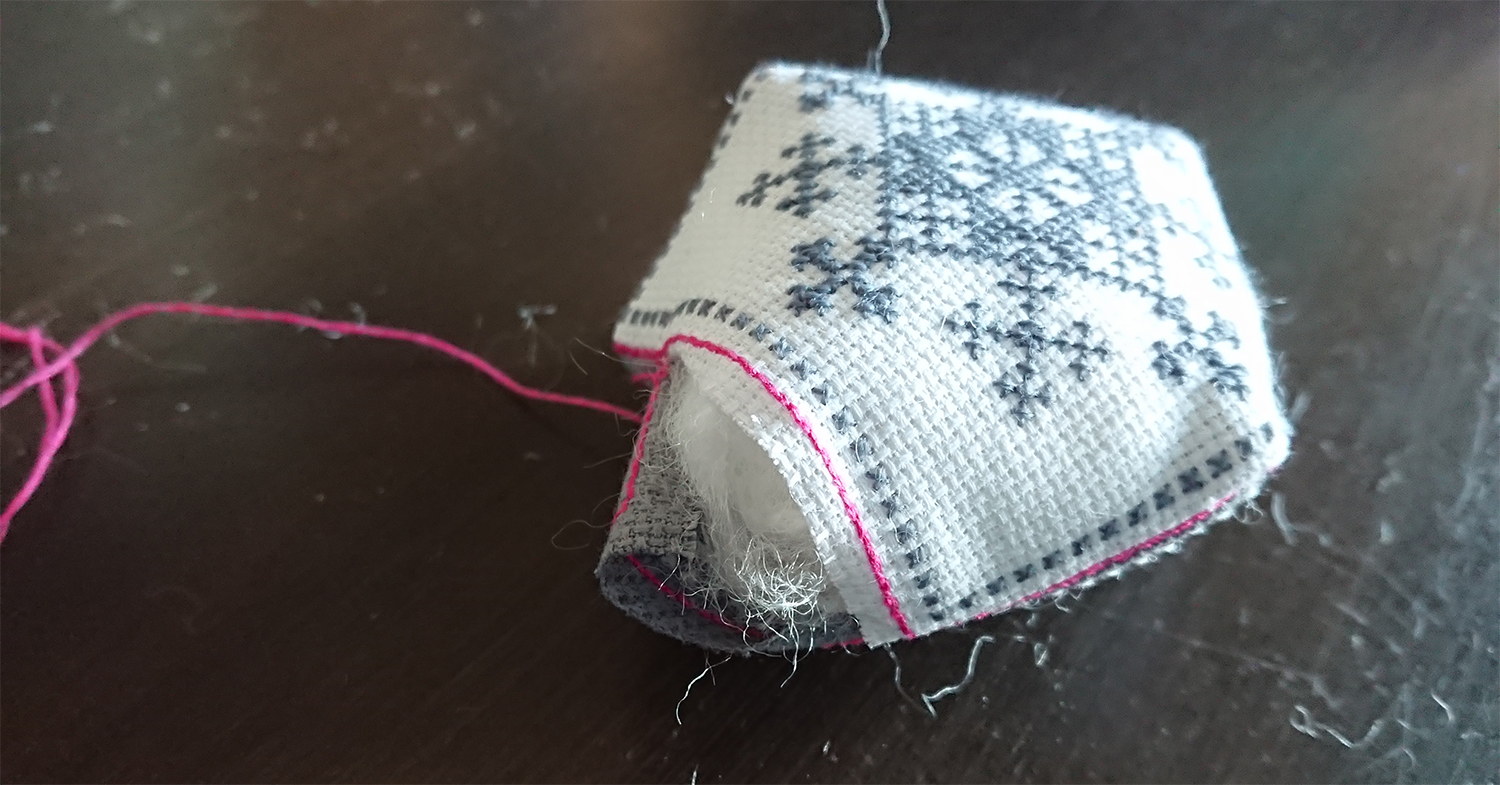
With only a corner left to stitch up you start filling it with cotton, small rags or even beads depending on what you want to fill it with.
Step 4:
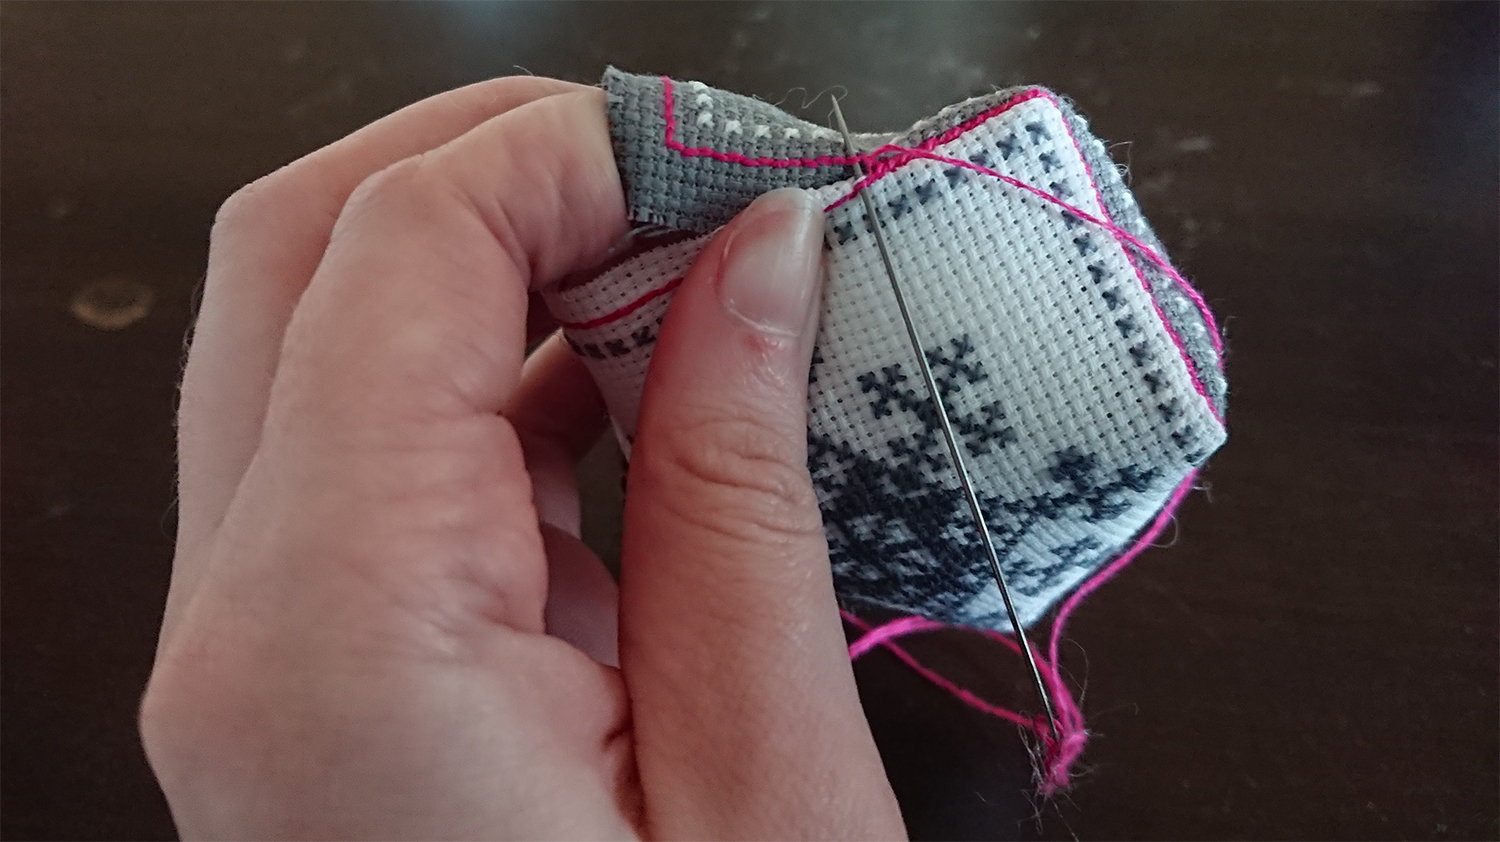
Finish the last homestretch and keep filling in cotton if needed to make sure it’s completely full.
Step 5:
If you feel like for a bit of decoration, feel free to add a button in the middle of both sides. Make sure you use a strong thread for this.

4 Comments
[…] The basic biscornu shape is easily obtained, you can read the tutorial on how to get it here. […]
[…] If you are unfamiliar with the regular biscornu pincushion, please see the appropriate tutorial. […]
[…] you are unfamiliar with the regular biscornu pincushion, please see the appropriate tutorial. Or the first alternative on how to make a 15 sided biscornu […]
[…] If you don’t know how to stitch together a biscornu, you can check out my tutorial on the subject here. […]