If you are unfamiliar with the regular biscornu pincushion, please see the appropriate tutorial.
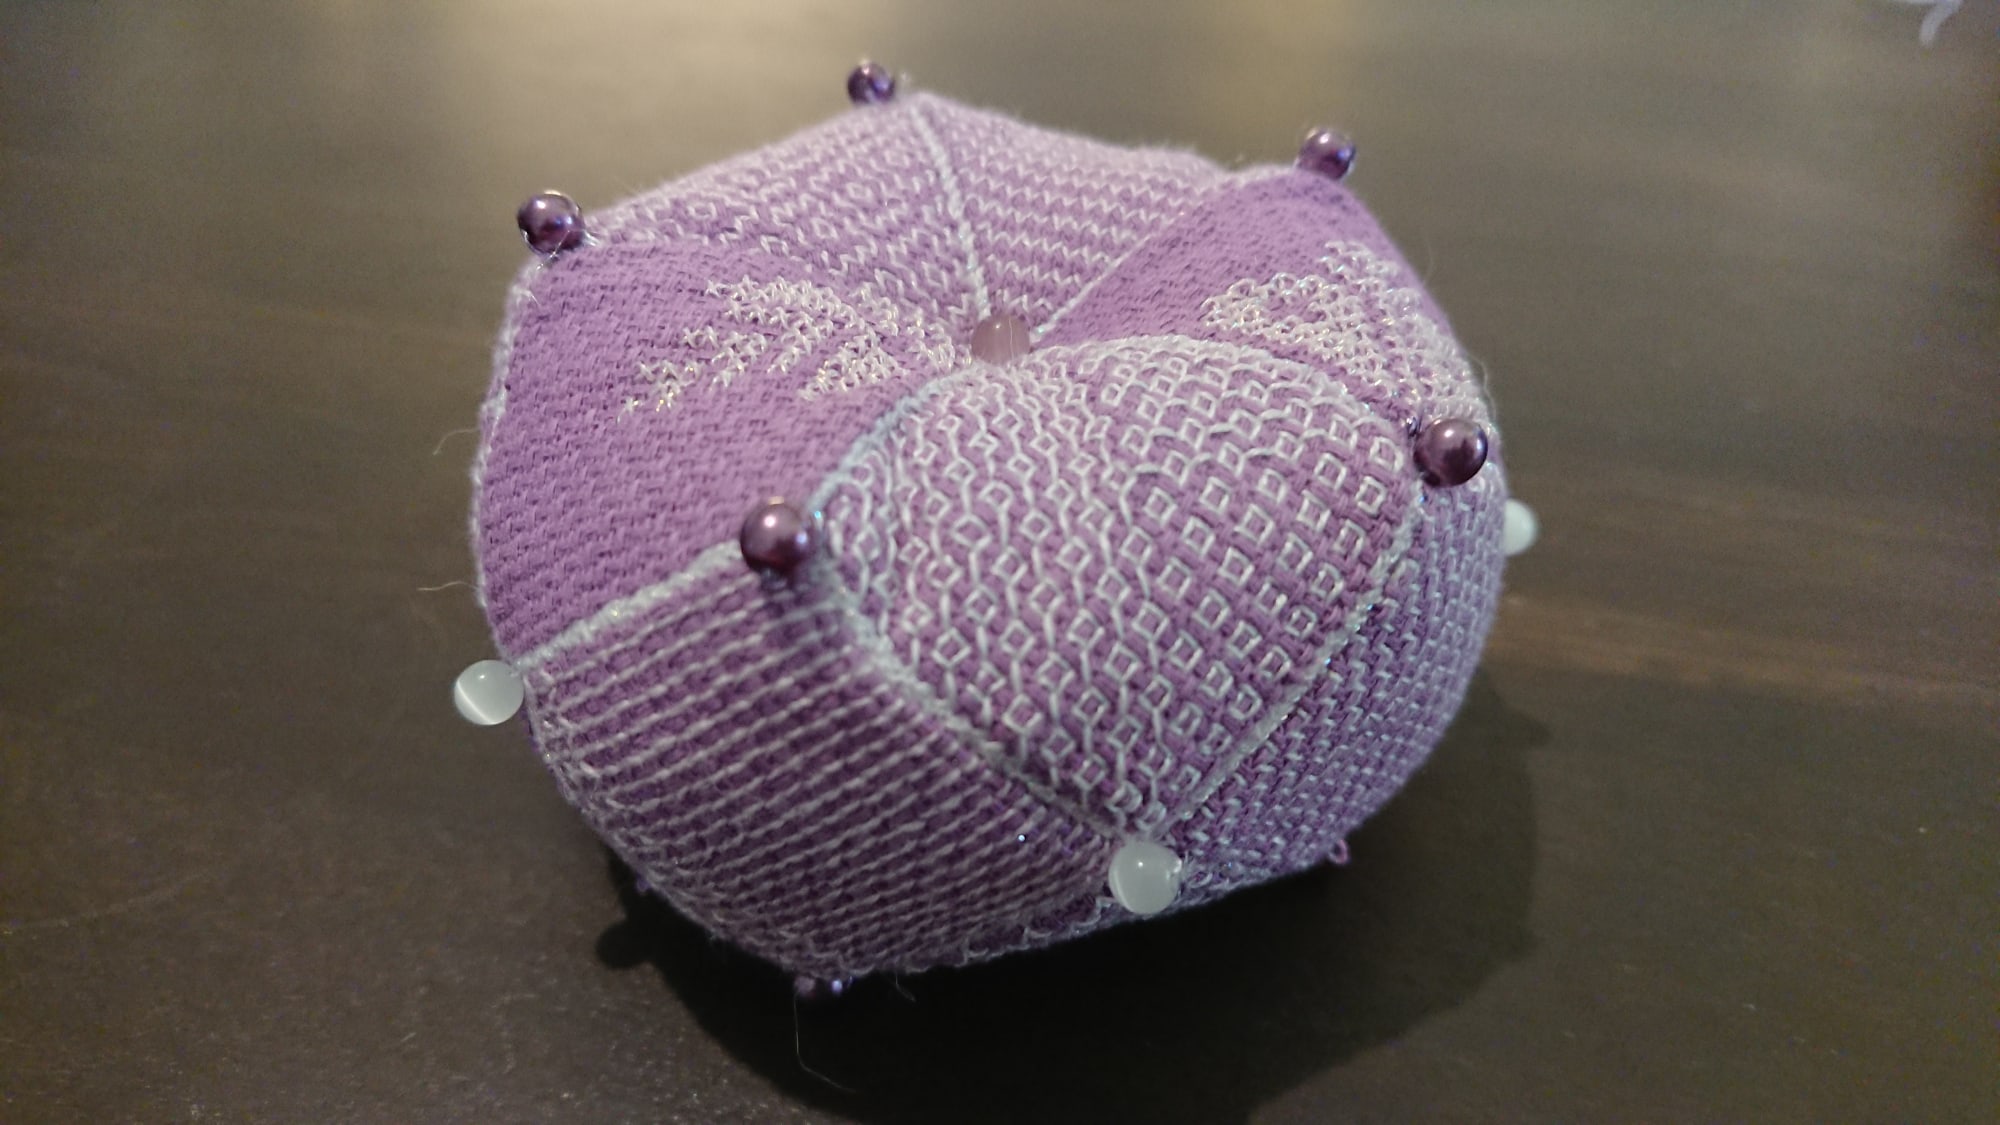
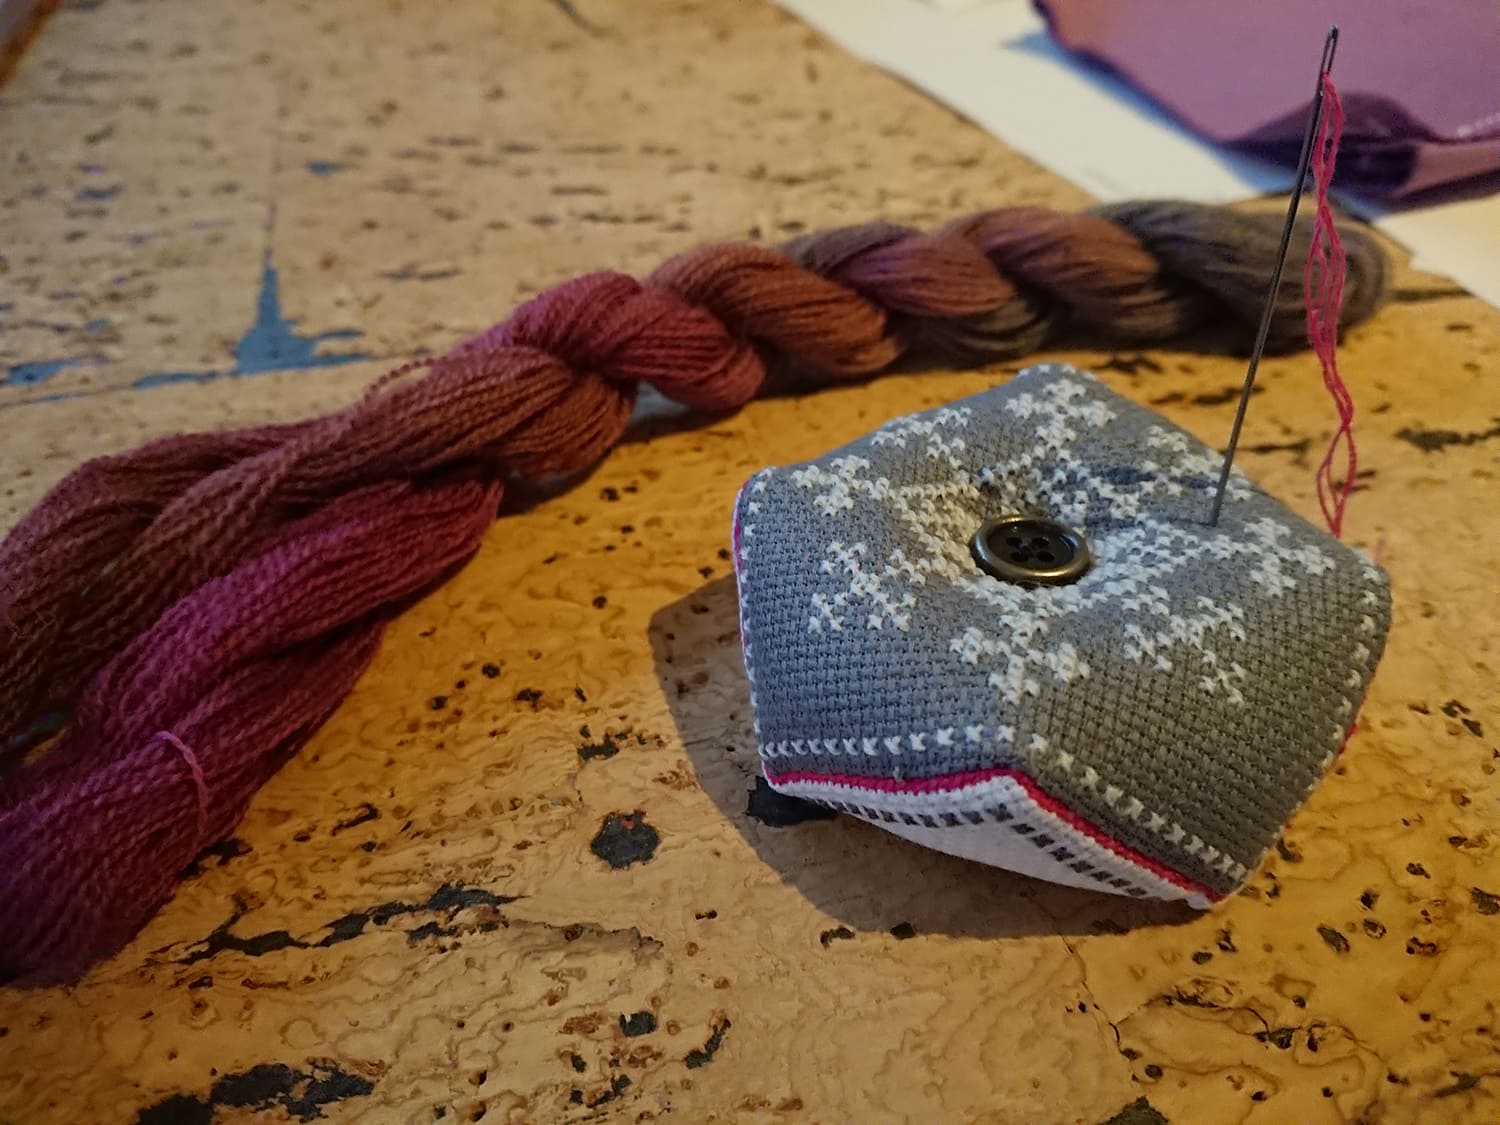
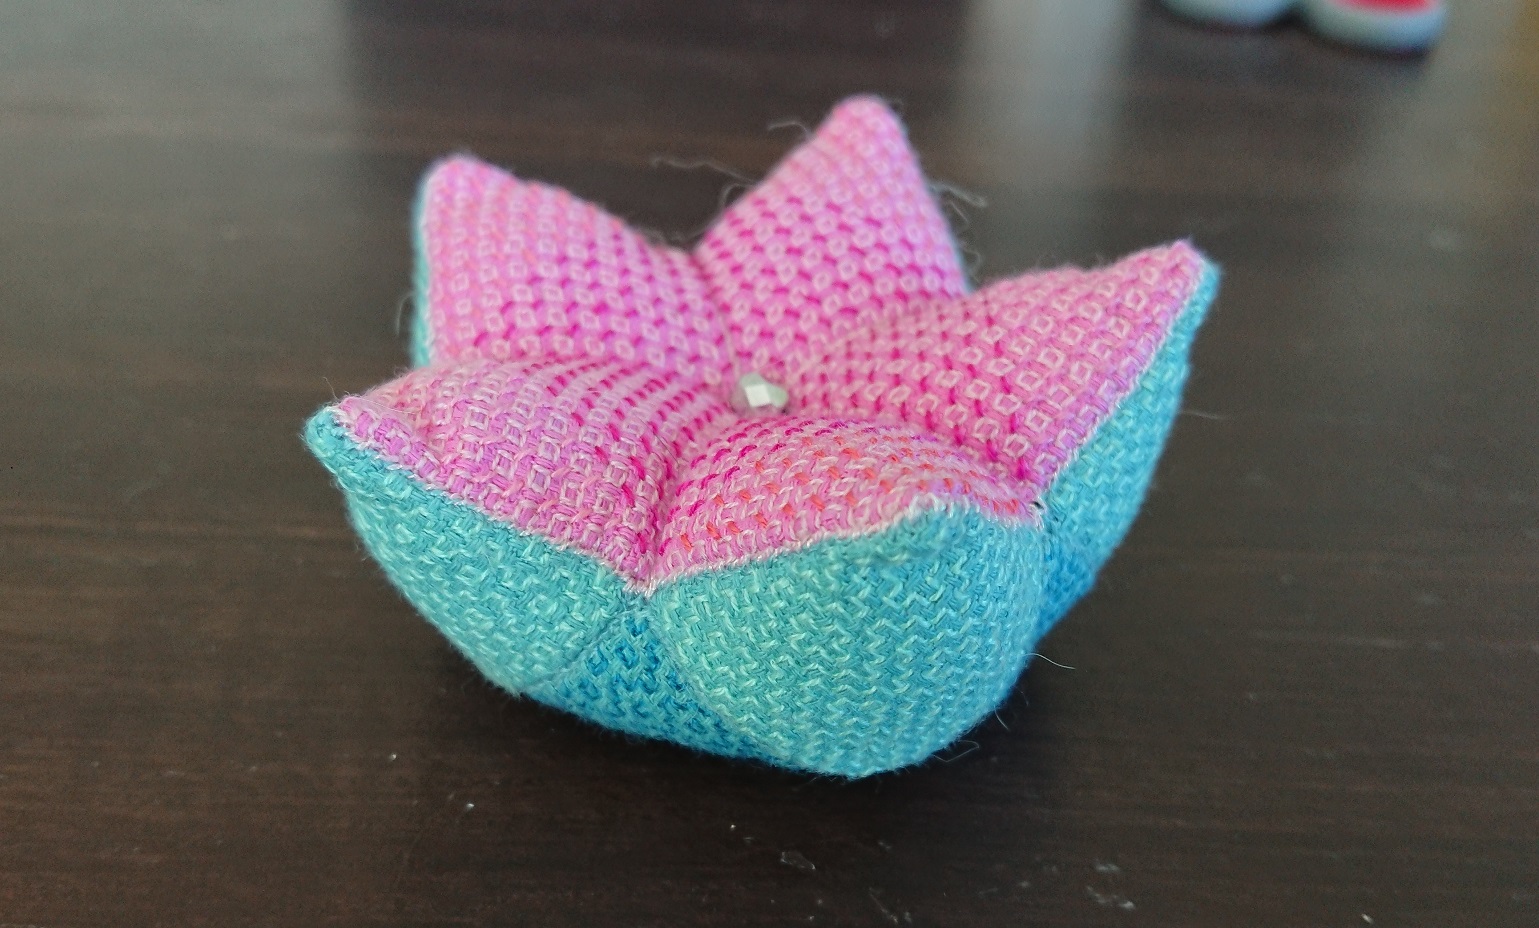
This is one of three ways you can make a 15 sided biscornu pincushions. This is the so-called “regular” version which is most frequently used.
Step 1: Stitch your pattern
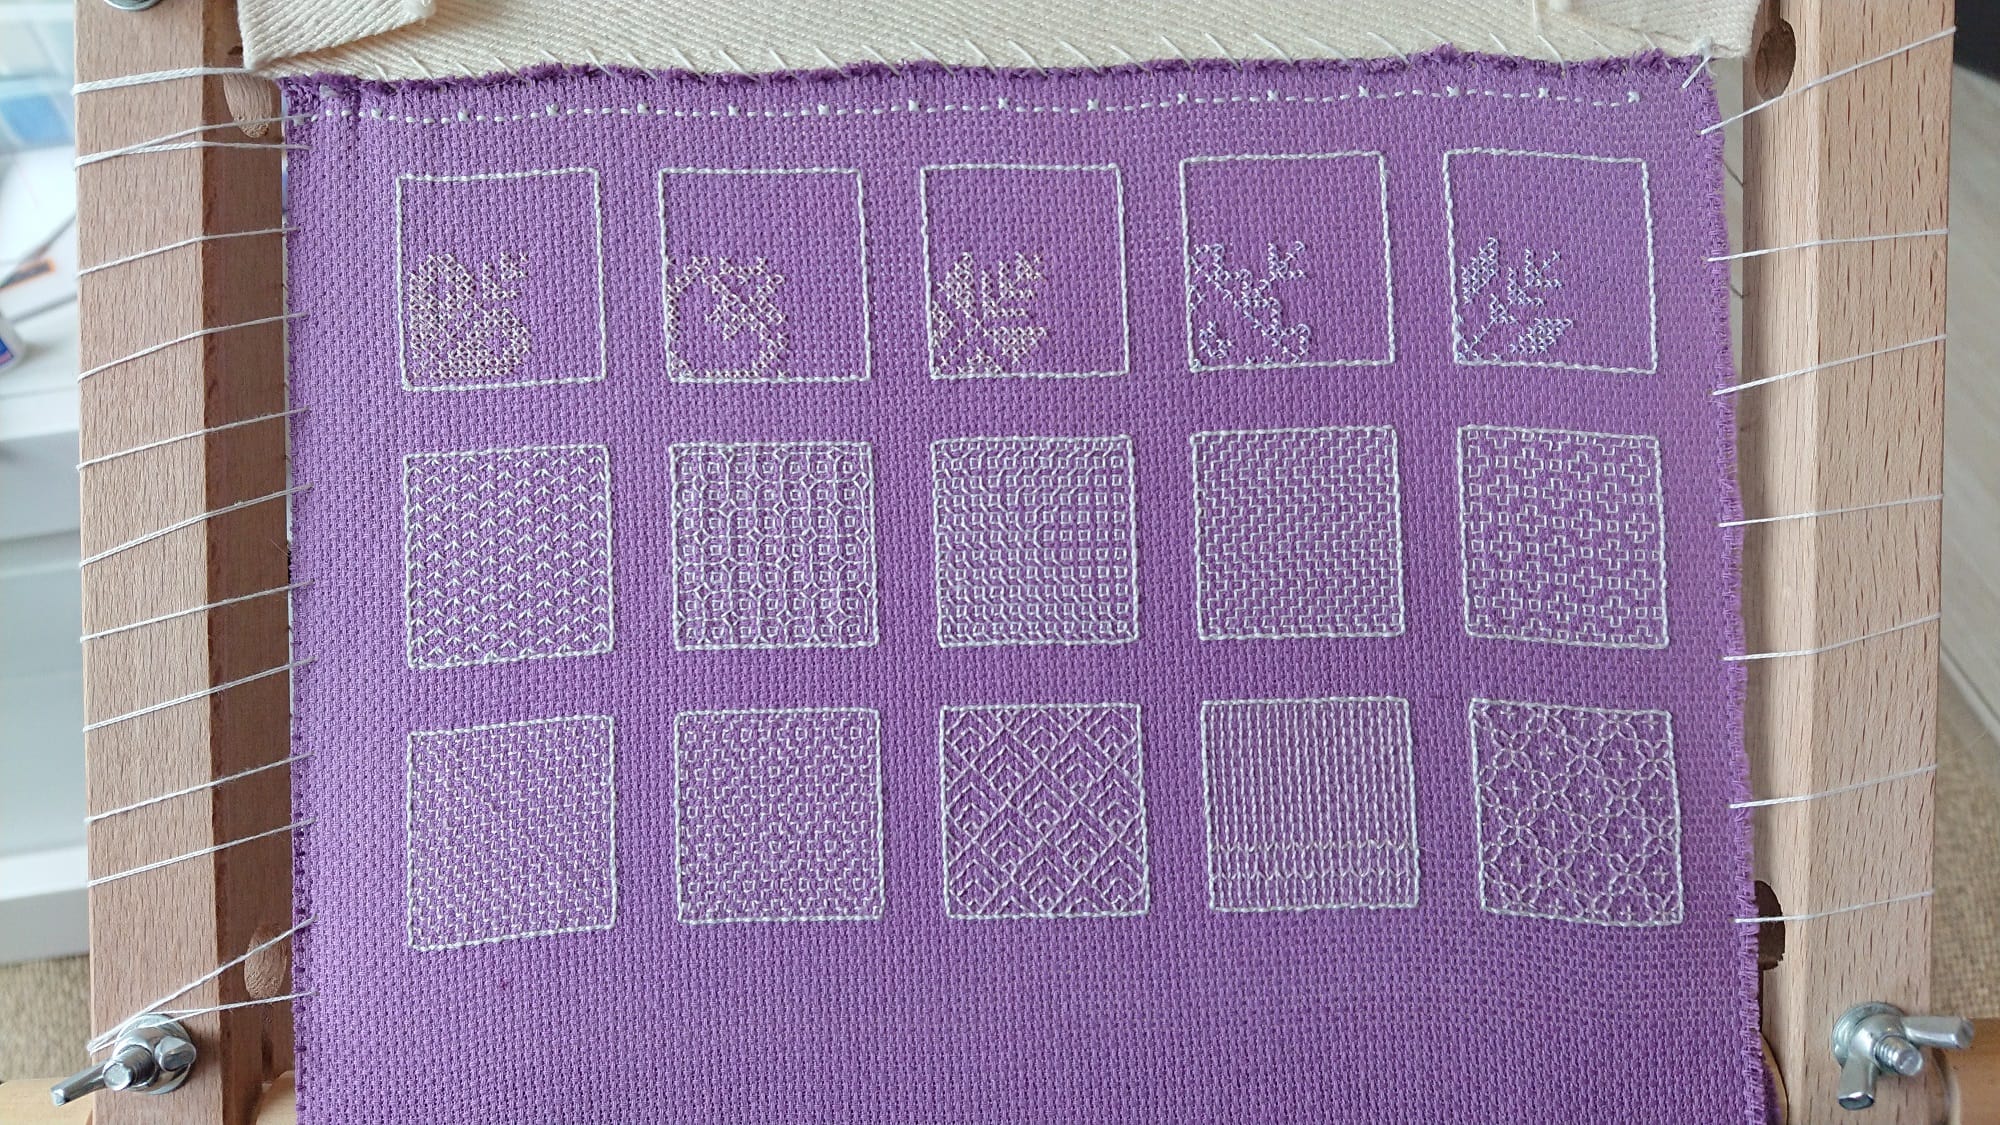
First you make your 15 squares. For fun I decided to stitch a combination of sashiko, blackwork and cross stitch. Make sure they all have the same size. Here they are 22×22 squares.
Please note, the smaller the squares, the more fiddly it’ll be
Step 2: Cut and sort
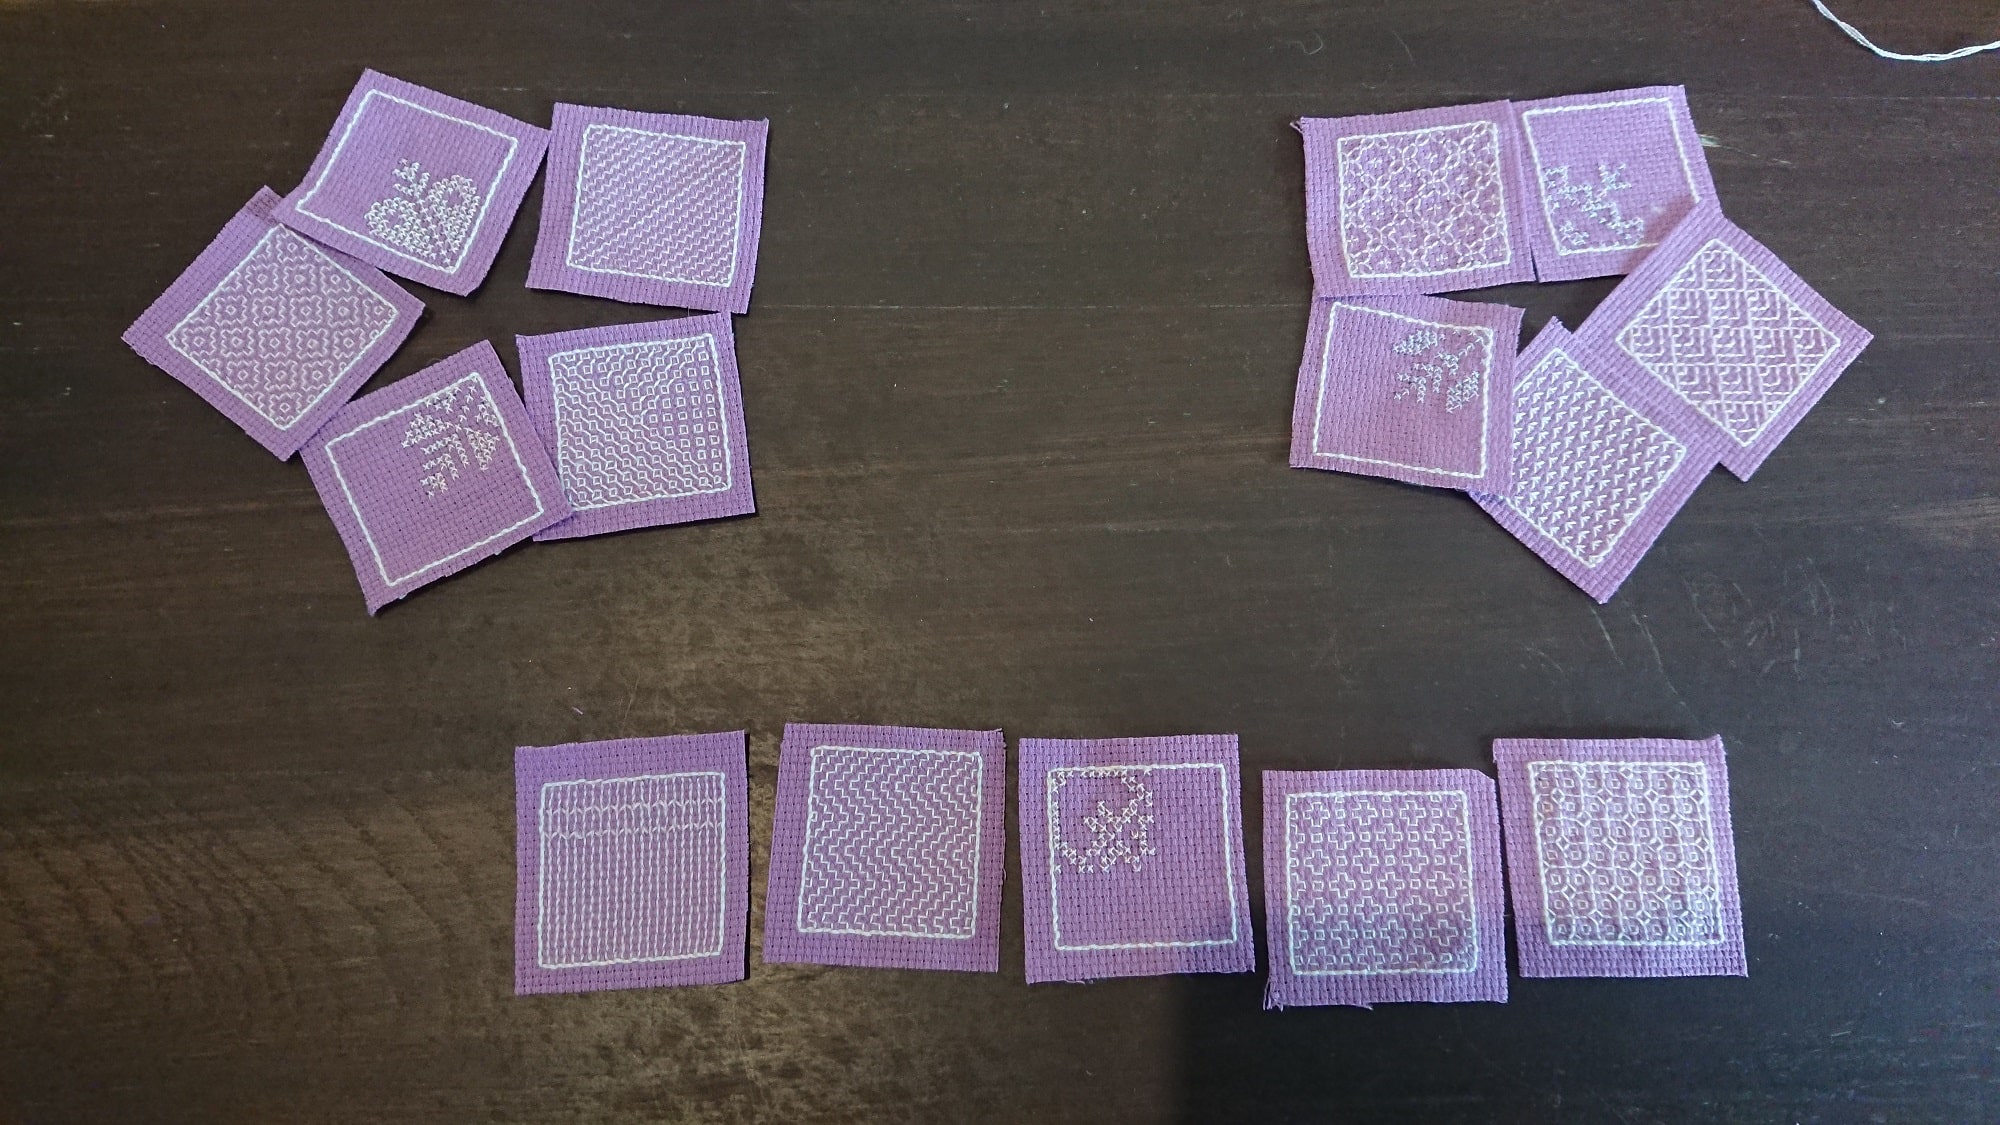
Cut the different squares and make sure there are a couple of squares between the running stitch and the edge to prevent fraying and make the stitching easier.
Sort them into three groups, top, middle, bottom.
Step 3: Stitch a group together
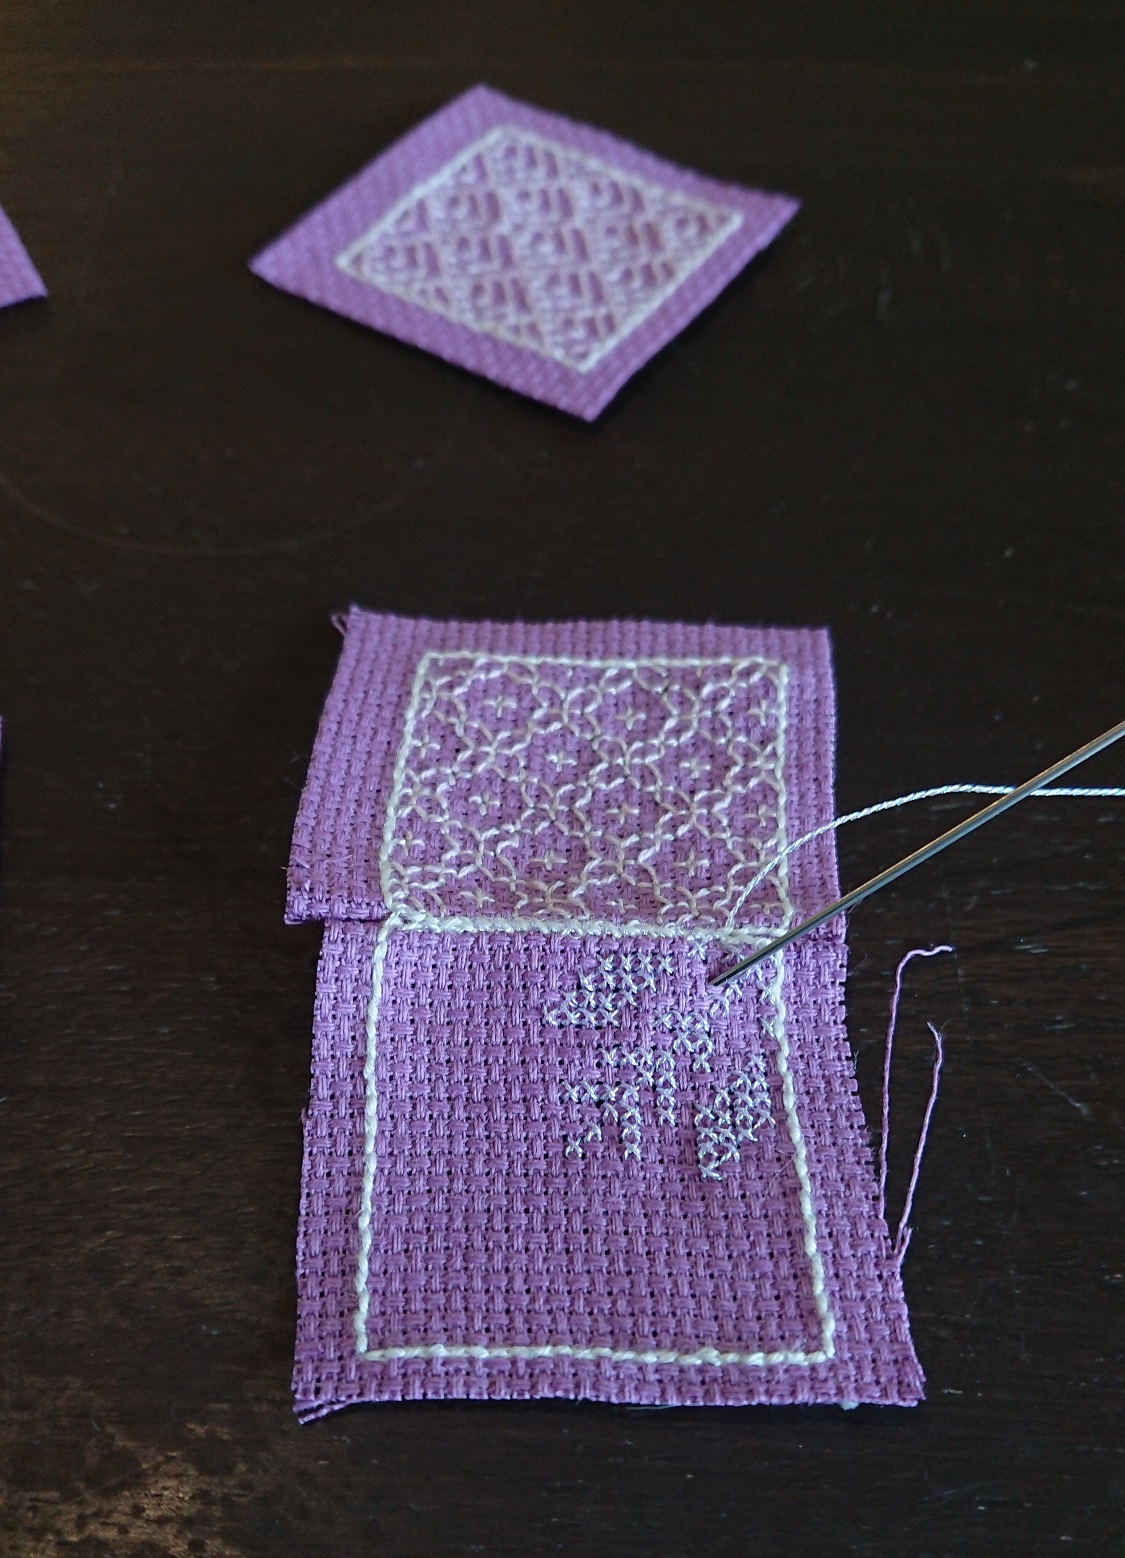
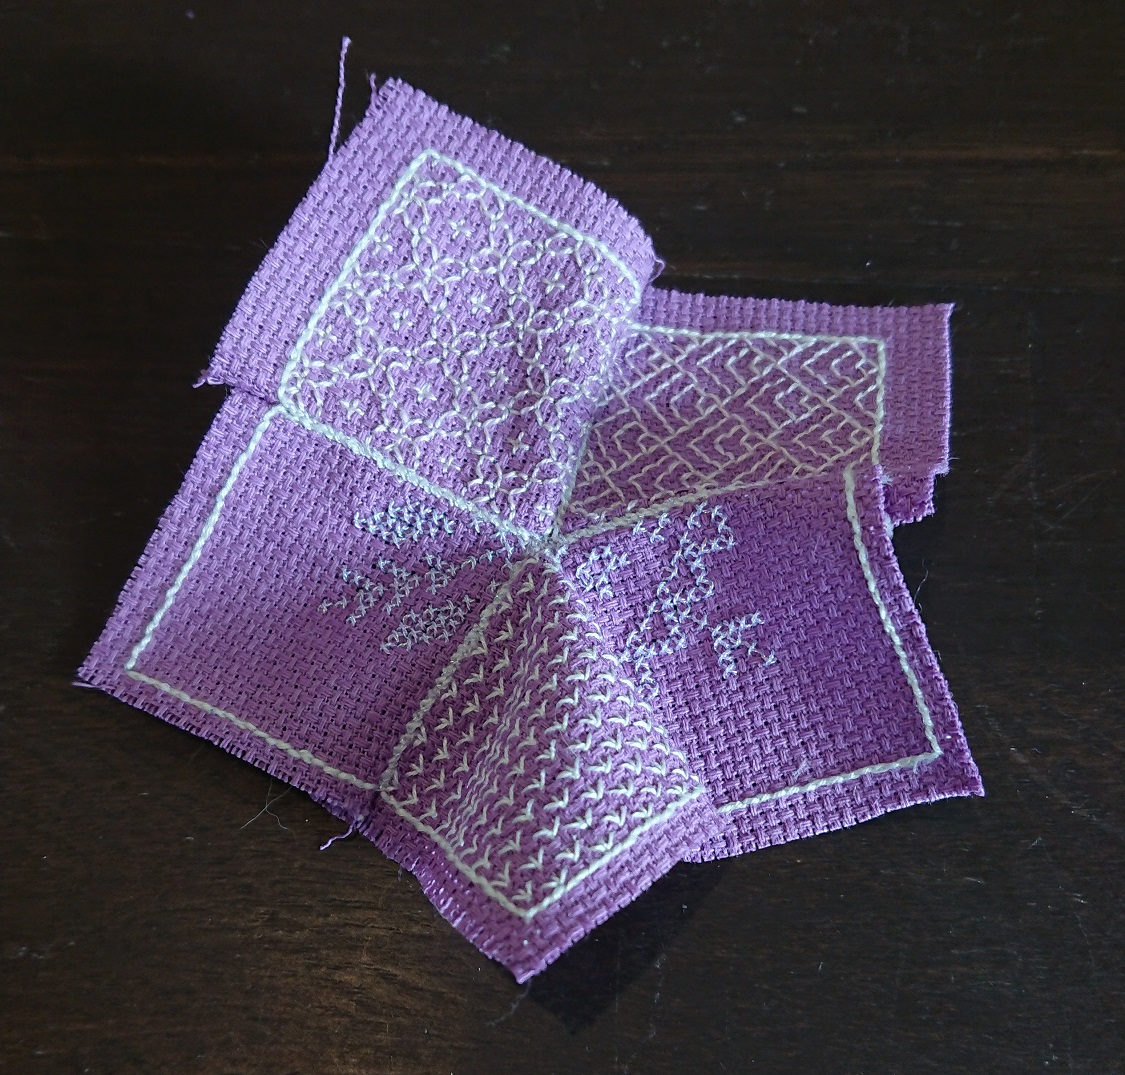
Stitch a group together in a kind of “starshape” in the order you best prefer (unless of course every square has the same pattern).
Step 4: Stitch another group together
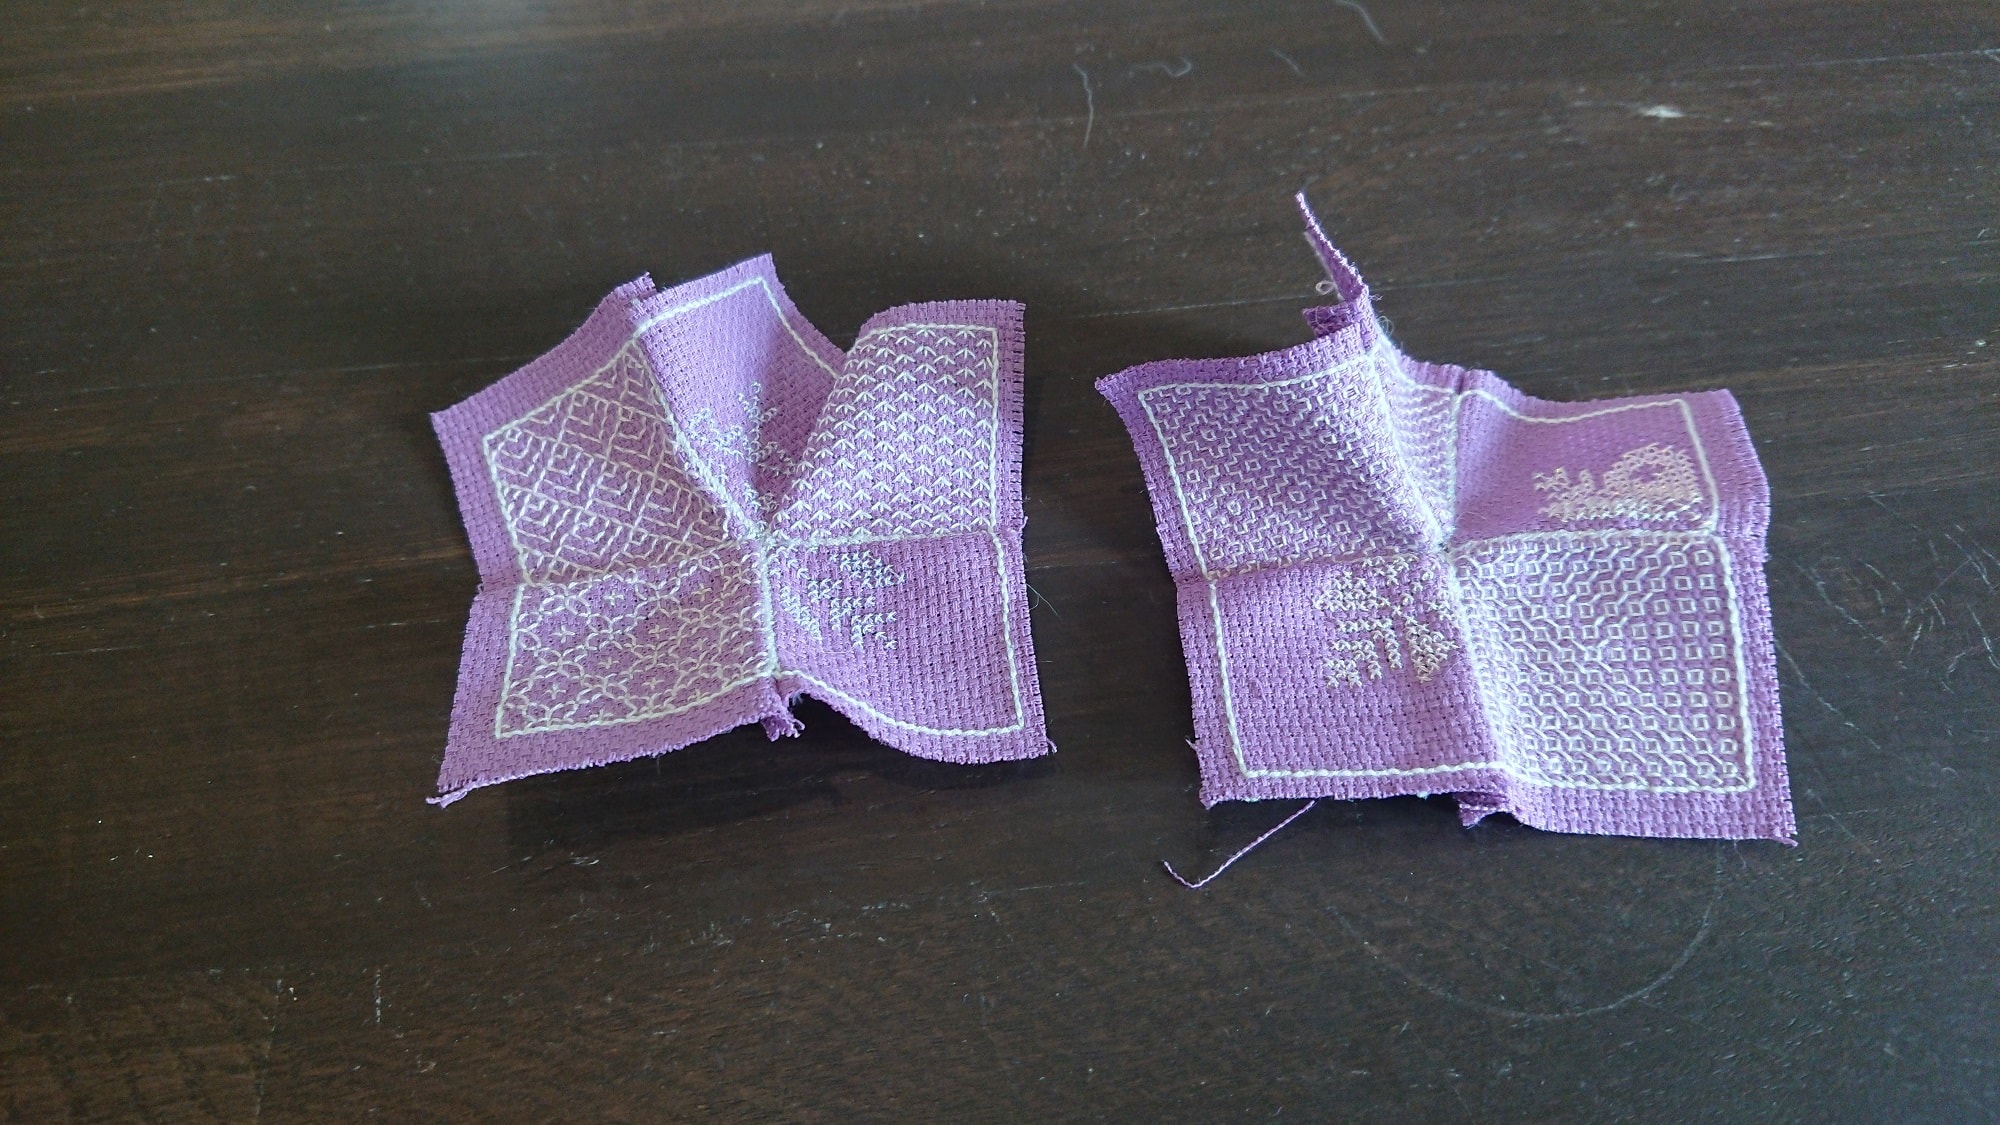
Stitch your second group together. These two groups will be the top and bottom.
Step 5: Stitch the middle
Stitch the middle-pieces into the top one-by-one all the way around.
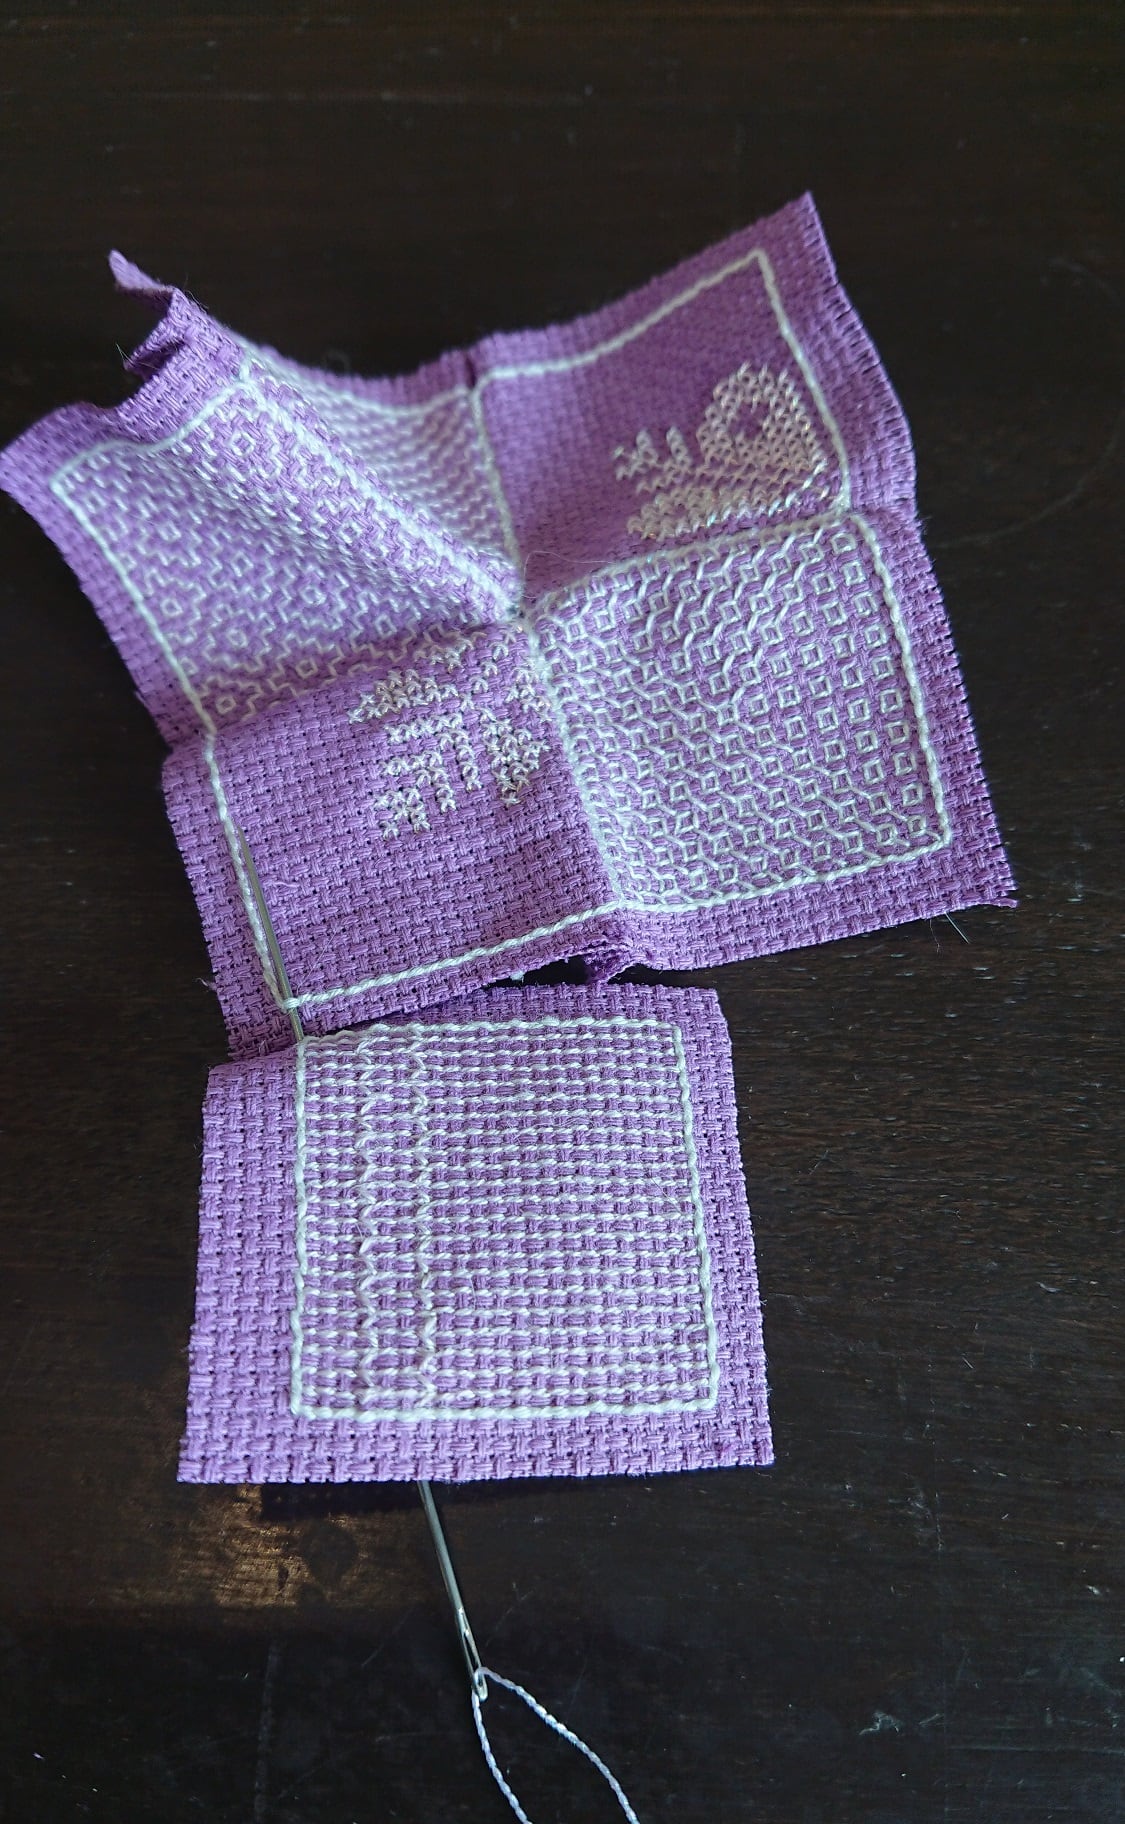
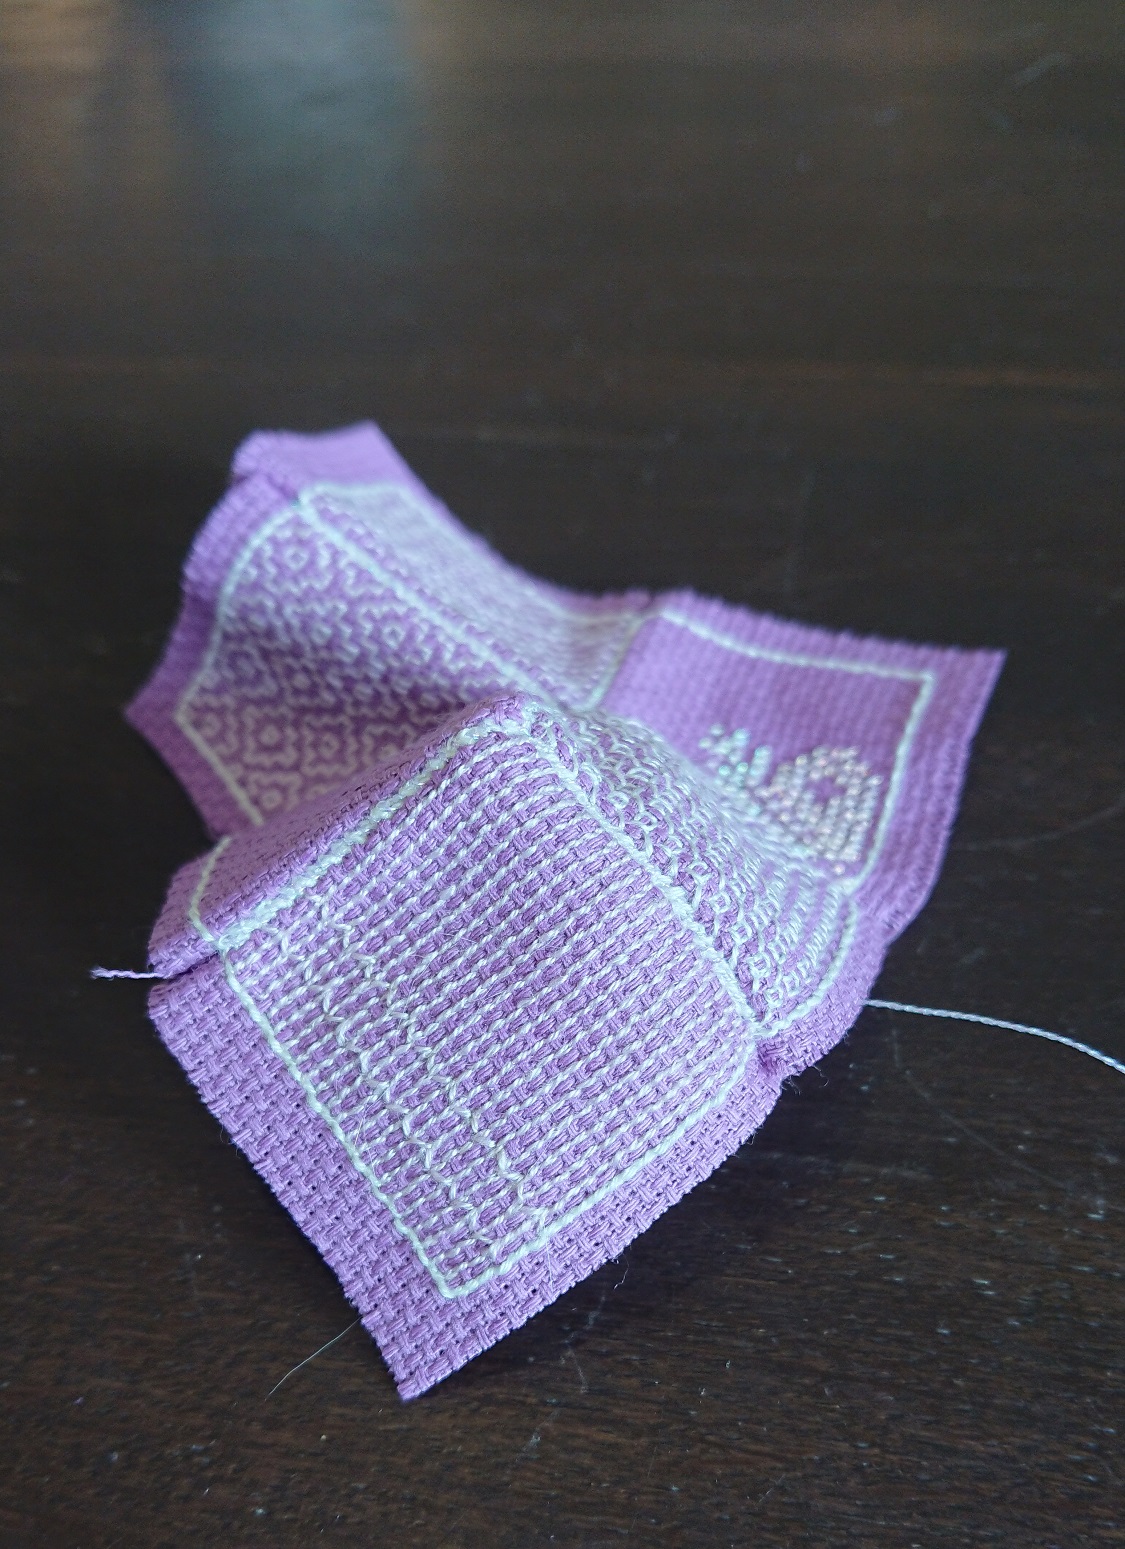

Step 6: Stitch in the bottom
Take the bottom and stitch it to the middle-pieces (which are attached to the top) until there are only 4 “sides” left before closing.
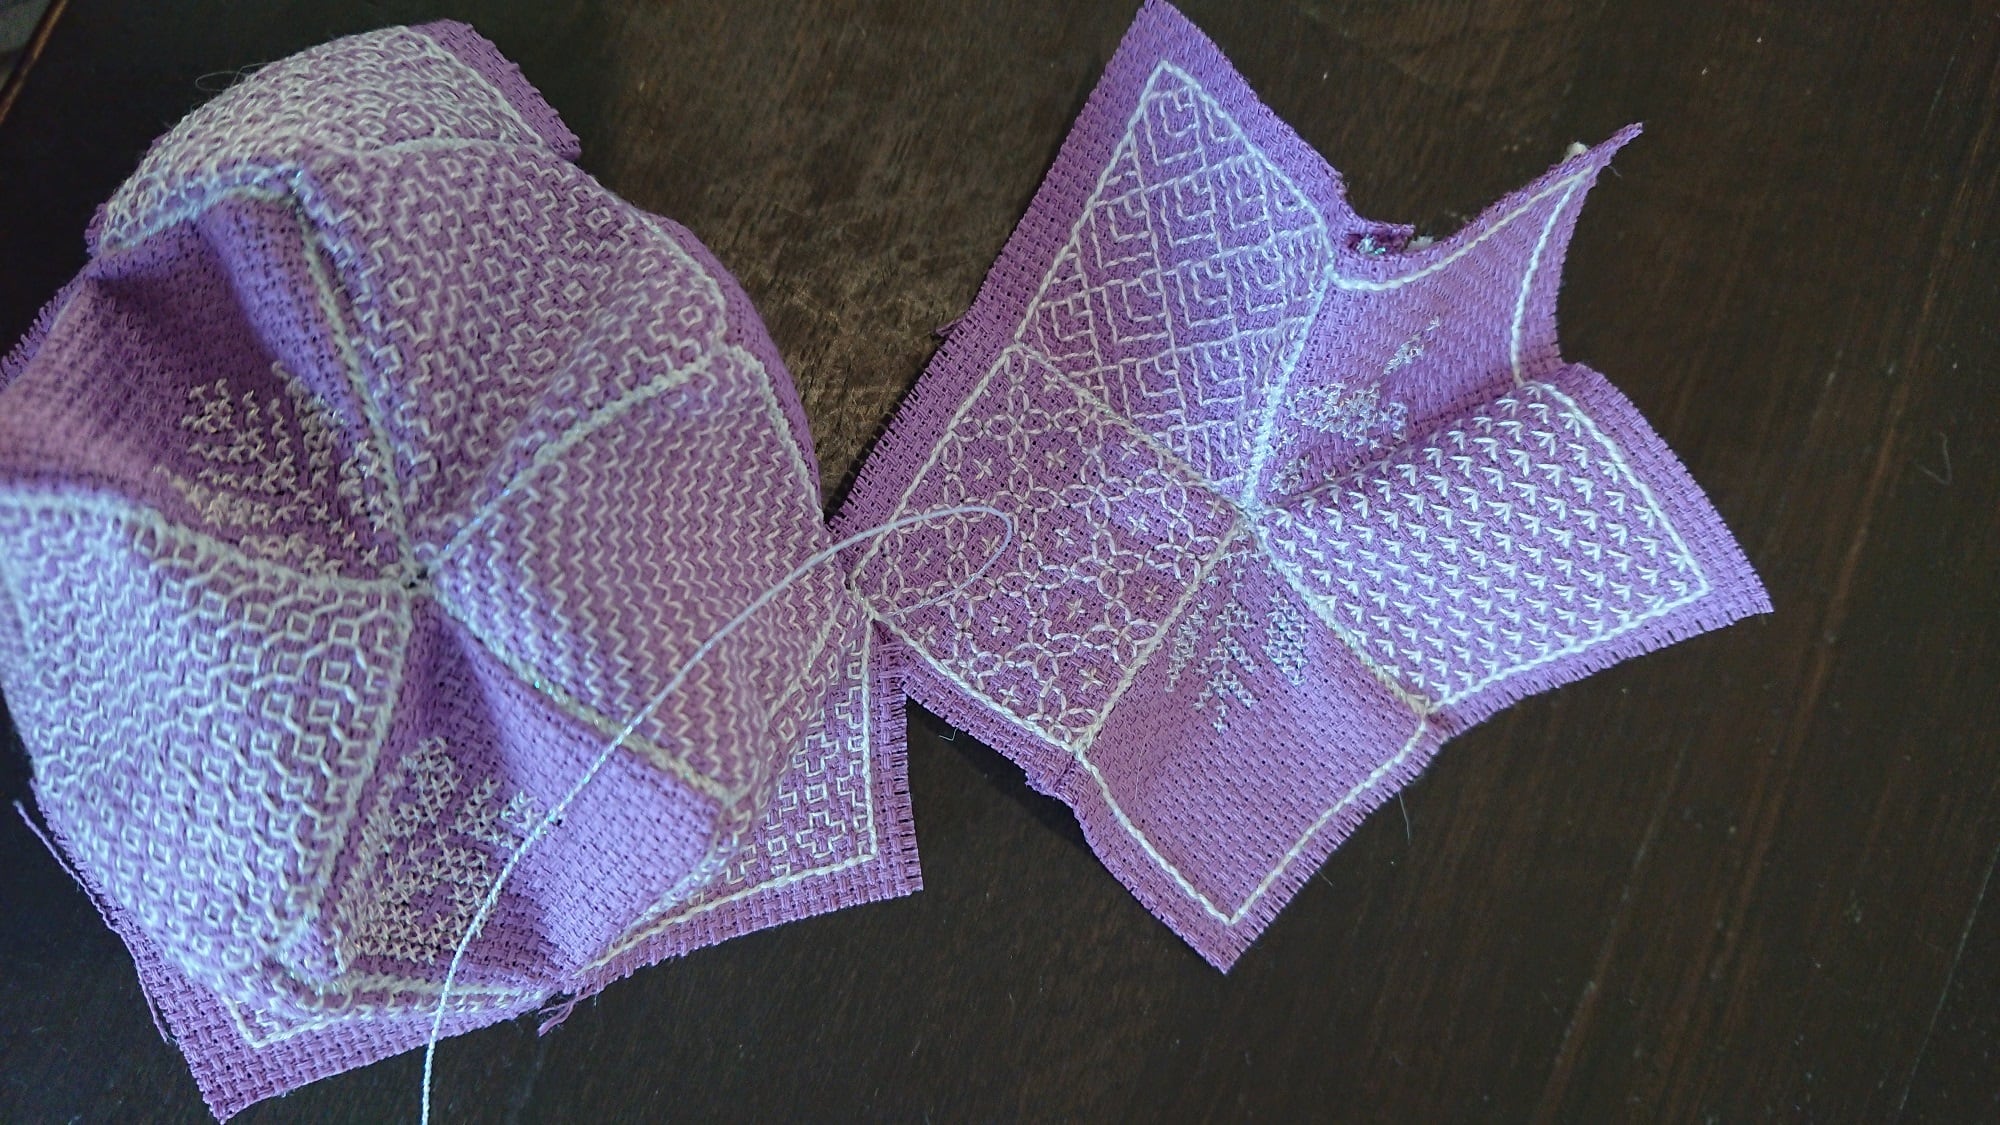
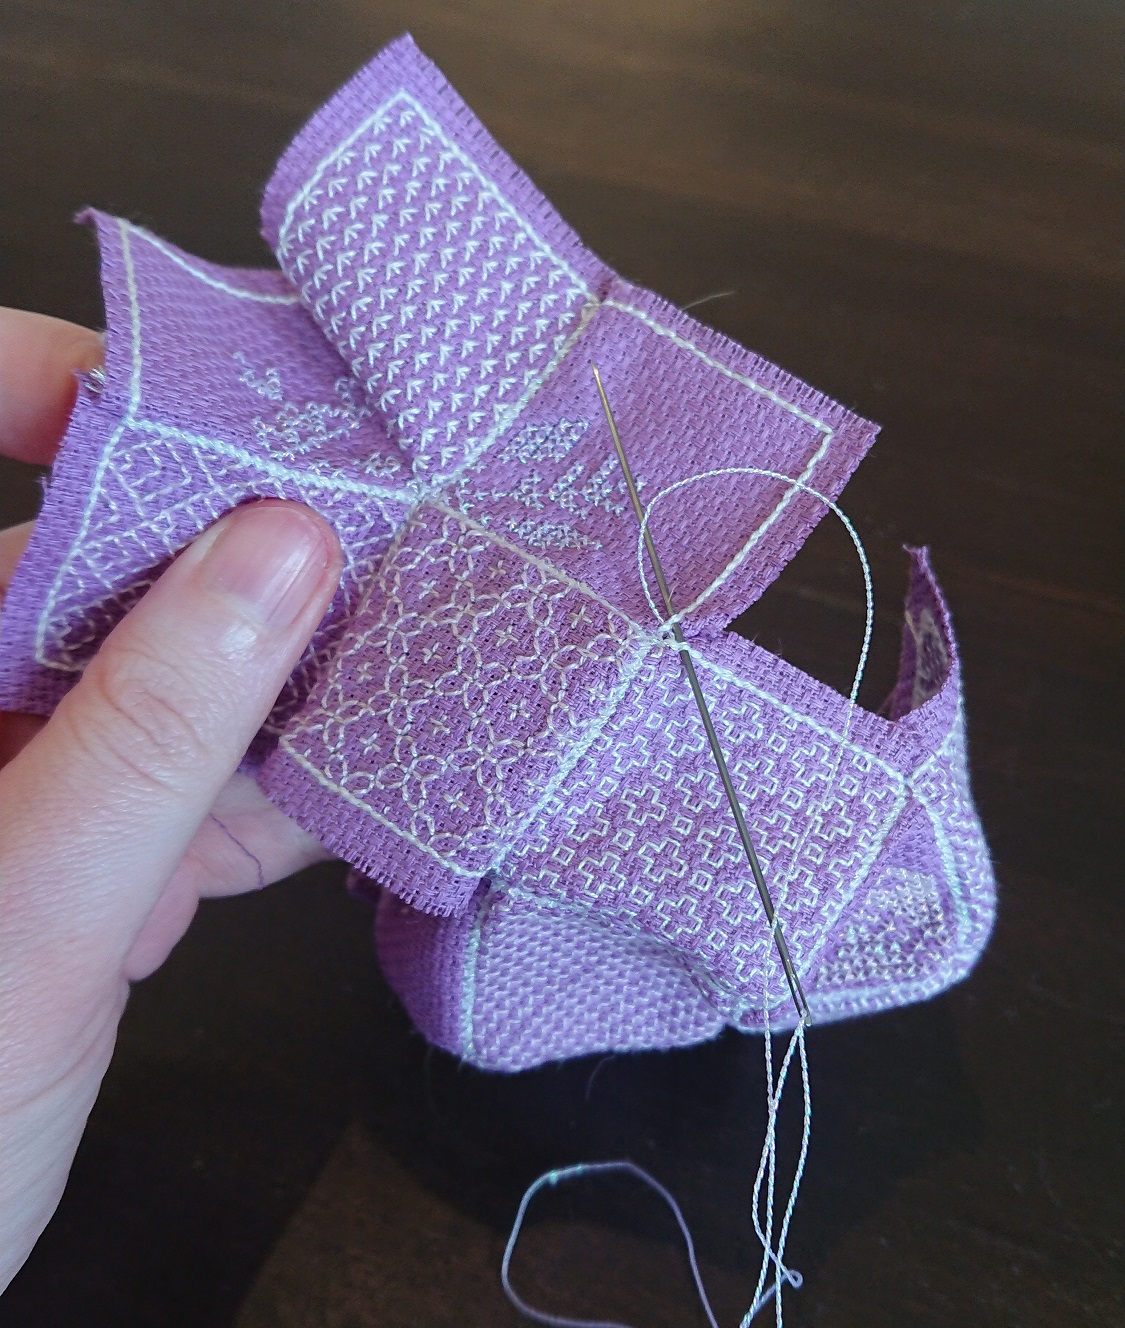
Step 7: Introduce cottom into the situation
Start filling up on cottonfilling. There’s room for quite bit and make sure you fill it up good to even out all the different curves and corners.
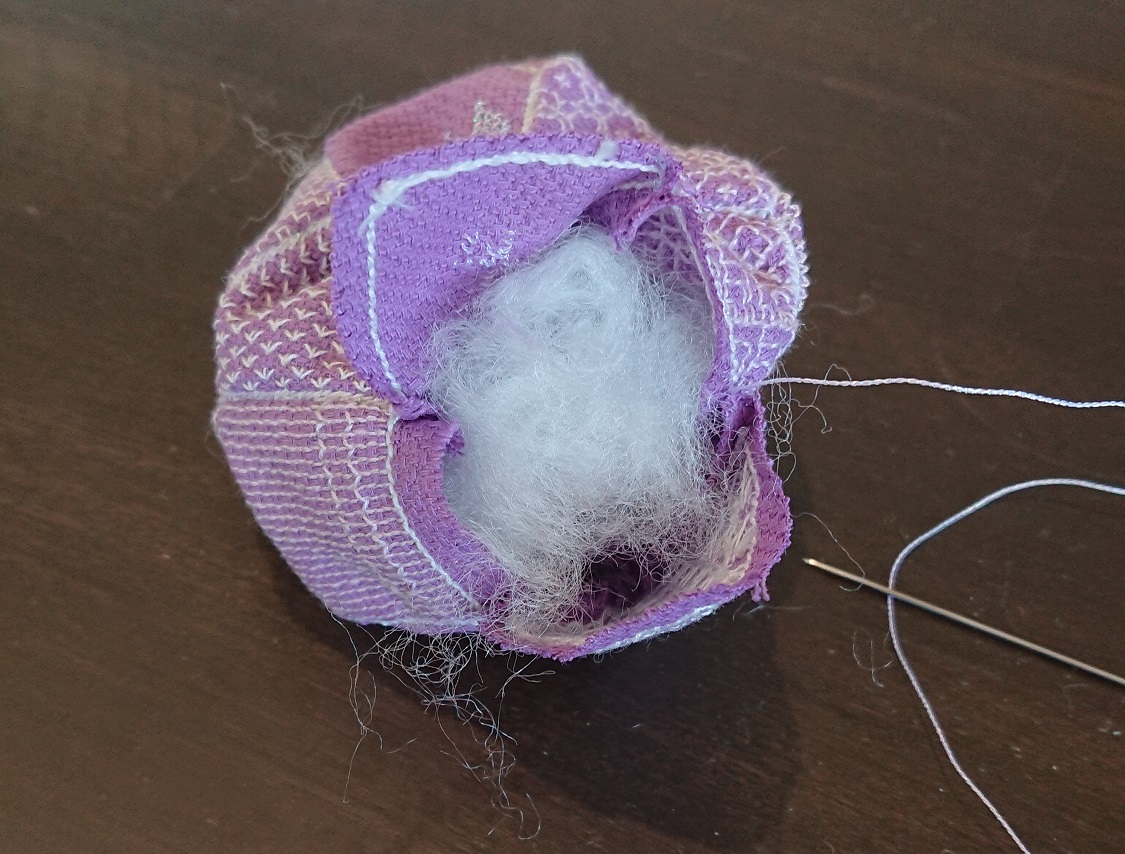
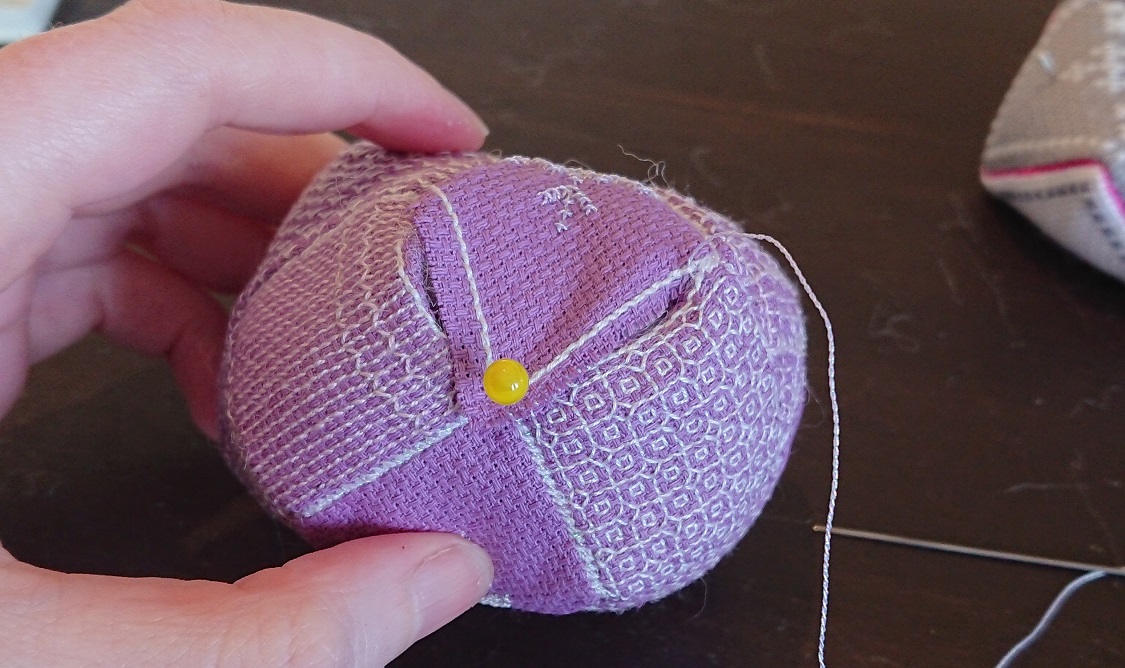
Step 8: Close up and add finishing touches.
I sometimes use a large pin to keep the last flap in place to make it easier to stitch the last part together. It also gives you the opportunity to see if you need more filling before closing it entirely.
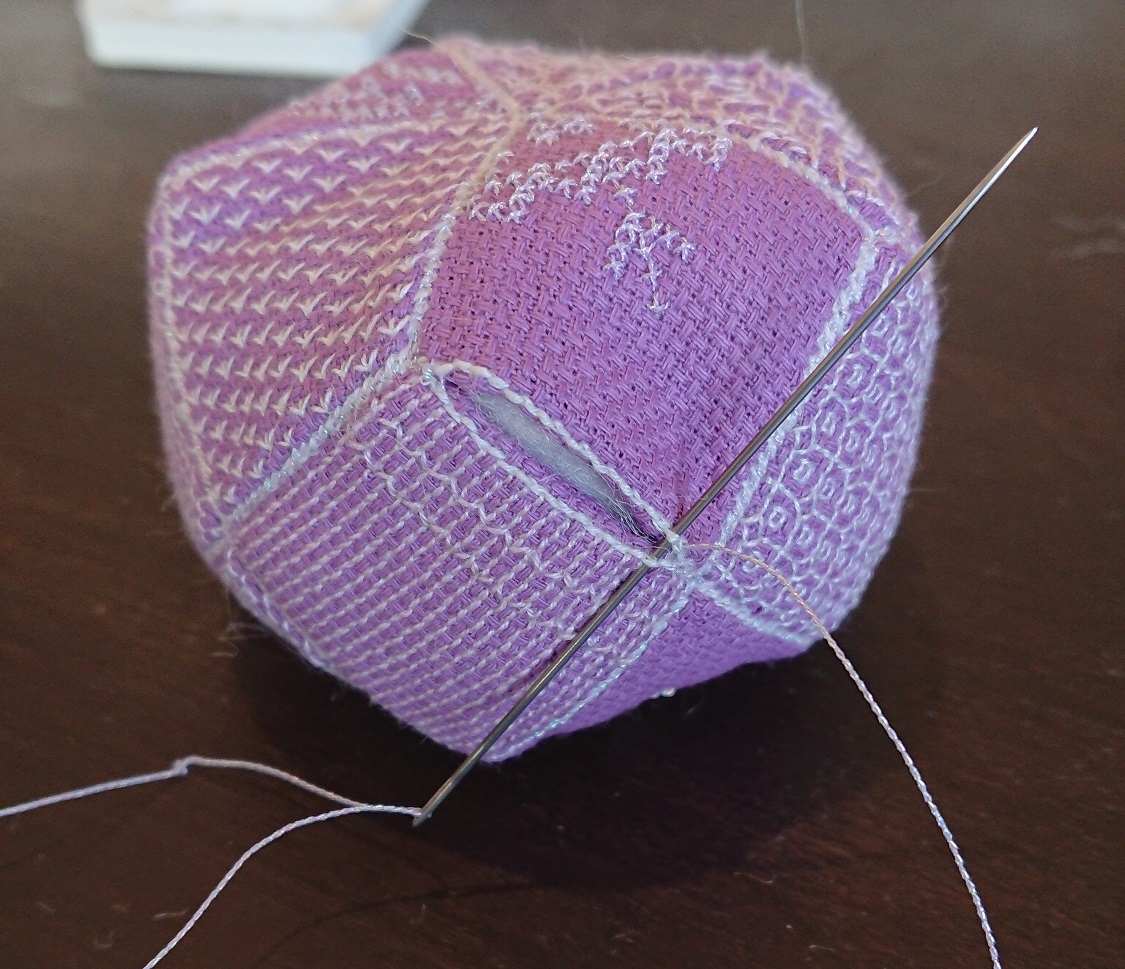
Don’t hesitate to bling it up!

1 Comment
[…] Kaki no Hana (柿の花) betyr Persimonblomst. Denne er lett å brodere på aida da den følger et enkelt system med vertikale og horisontale linjer. Jeg har selv brukt mønsteret som en del av min biscornu med 15 sider. […]